Making An Igloo


So I have successfully managed to make a complete igloo.
It took two tries. So I had to wait two weeks in between attempts and the first attempt I was with my brother David and a friend Per Håvard. Then on my second attempt it was with Per Håvard and his wife Marie.
You can see the gallery with BTS pictures and of the other beautiful scenes around the igloo. Making-an-igloo which the slideshow is from.
We made them right next to one another and the first one was hidden when we arrived at our location on Frostadtinden in Skogje Kommune. The first attempt the walls helped protect us against the wind but not much warmth since there wasn't a roof. Our foundation was also quite big and went straight up so it made it hard to arch it inwards. So in our second attempt we slanted right away and made it smaller. At the beginning having a team is very helpful to have different posts making blocks, shaping blocks and then placing blocks. In a smaller Igloo 3 might be too many.
Before both expeditions I looked at tutorials which I'll link here.
https://www.wikihow.com/Build-an-Igloo
https://boyslife.org/hobbies-projects/projects/6793/how-to-build-an-igloo/
Instructions
Basically we need to start with a circle smaller than 3 meters diameter. With the first row start with as big blocks as you can. 50x40x20 is a good start and try to keep that same size for the next layer too and then go smaller as you work towards to the roof closing. At the beginning try to slant the block ever so slightly inwards and the the layers afterwards try to slant more and more. You should even the top of the blocks of the first layer before you start the next layer. After you completed the first layer cut an incline on several blocks so that you continue the first layer on top to start the second layer and make a spiral upwards and inwards. By the time you get to the third layer I would suggest having a 60º to 45º inwards so that you will manage to build a roof and close the top. The last row and the last piece becomes a type of puzzle but you shouldn't start the next piece until the piece before it manages to stand on its own and that happens by beveling the edges and having the pressure on the previous block. That is where a knife or machete come in very helpful to make the pieces fit nicely together. My machete has a small saw on the backside which is extra helpful sometimes.


Inspiration
I was inspired to do this trip from some videos I saw from Svalbard and even thought I couldn't travel to Svalbard yet this was a way for me to pretend I was in the winter wonderland up there.
It's a few years old but still inspires me on several levels the expedition I saw from the eclipse in 2015. Solar Eclipse in Svalbard
At the moment I dont have funds to go there but I really hope I can visit it before the glaciers and landscape up there forever change and it is no longer sustainable for the polar bears. If you want to help me visit the Arctic Archipelago. You can donate Funds to GoFundMe. I'd like to visit this summer or fall but maybe will have to put it off until I have funds so there sooner I have money to visit Svalbard the Sooner I can take the Photos before the Snow and Ice melts.
Trip and lessons learned
Both Trips were exhausting for me but also left me feeling refreshed and wanting more. It was my second and third trip up a mountain in snowshoes and was really challenging for me. My first trip with snowshoes I didn't take my camera or other luggage as it was tough enough and I needed to just practice first. These trips to make the Igloo I had my camera bag, 75l backpack with other stuff strapped outside and ascending roughly 600 meters. If I was in better form I would've taken more with me as well. Such as extra watertight shoes and maybe something small sitting pad for my knees while working long hours on the show. Even "watertight" clothes and equipment wasn't always good enough when working with snow for so many hours. Drying clothes in minus degrees isn't very easy. This second trip I got more things wet because of precipitation coming down this time and the temperature was just around freezing and snow was melting and freezing.
Building the entrance is nice to do but should really start from inside and then work outside and dont start until you have one or two layers of blocks so that you get a strong foundation at first. Though having a big entrance is nice for getting in and out making a big entrance should be a priority after most of igloo is finished.
Equipment list.
snowshoes/skis, staffs, gloves (and extra gloves, watertight, warm, thick and thin), watertight footwear, watertight clothing, fleece, wool full-body underwear, 2 or more extra pairs of wool socks, winter sleeping bag, sleeping mattress against cold ground, tarp, sitting pad, buff, tute, candles, camping stove, machete, knife, saw, shovels (if you can bring a big one as well as a small one, eating utensils, cups, thermoses (to keep drinking water from freezing), food, snacks, coffee, water, gas, matches, lighter, phone, powerbank, handwarmers, toothbrush and paste, sunglasses, extra-warm sweater.


If you want to work all at the same time bring a machete, shovel and saw per person.
Of course you can bring more but those are things you really should try to take with you.
Inside finished Igloo
The evening when I finished it was nice and warm inside but throughout the night the candles went out and my body warmth wasn't enough for the whole igloo. Make sure to make a vent or two and maybe more if the air quality is bad inside but be careful not to make to many right away. Candles should help warm up the air as well as provide light so you wont need to use your flashlight too much. Got any questions dont be afraid to take contact or hit me up on instagram or facebook and I'll try to get back to you asap.


Other interesting blogs

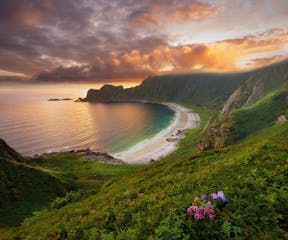
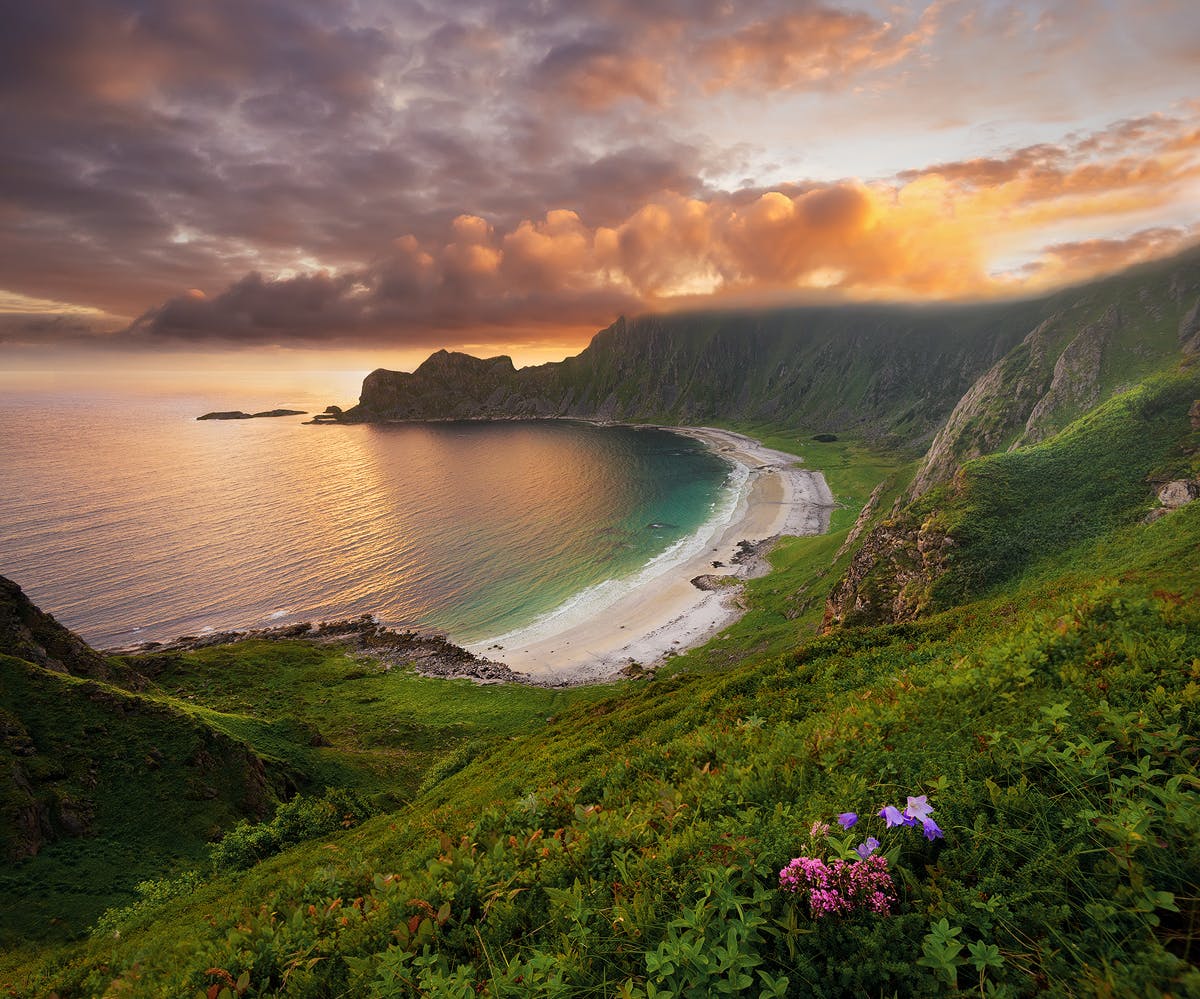
27 photos that prove the Vesterålen archipelago is very instagrammable
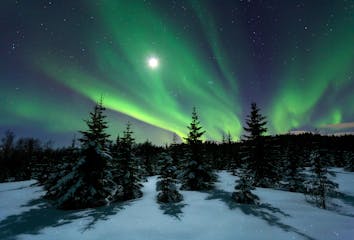
Vesterålen is a group of islands bordering to Lofoten in the south. The archipelago is connected by bridges as well as being linked with the mainland Norway, making any travel completely ferry-free.Read more25 Reasons Why Norway And The Northern Lights Are Match Made In Heaven
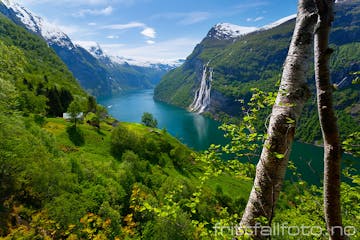
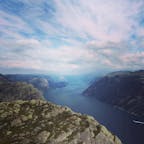
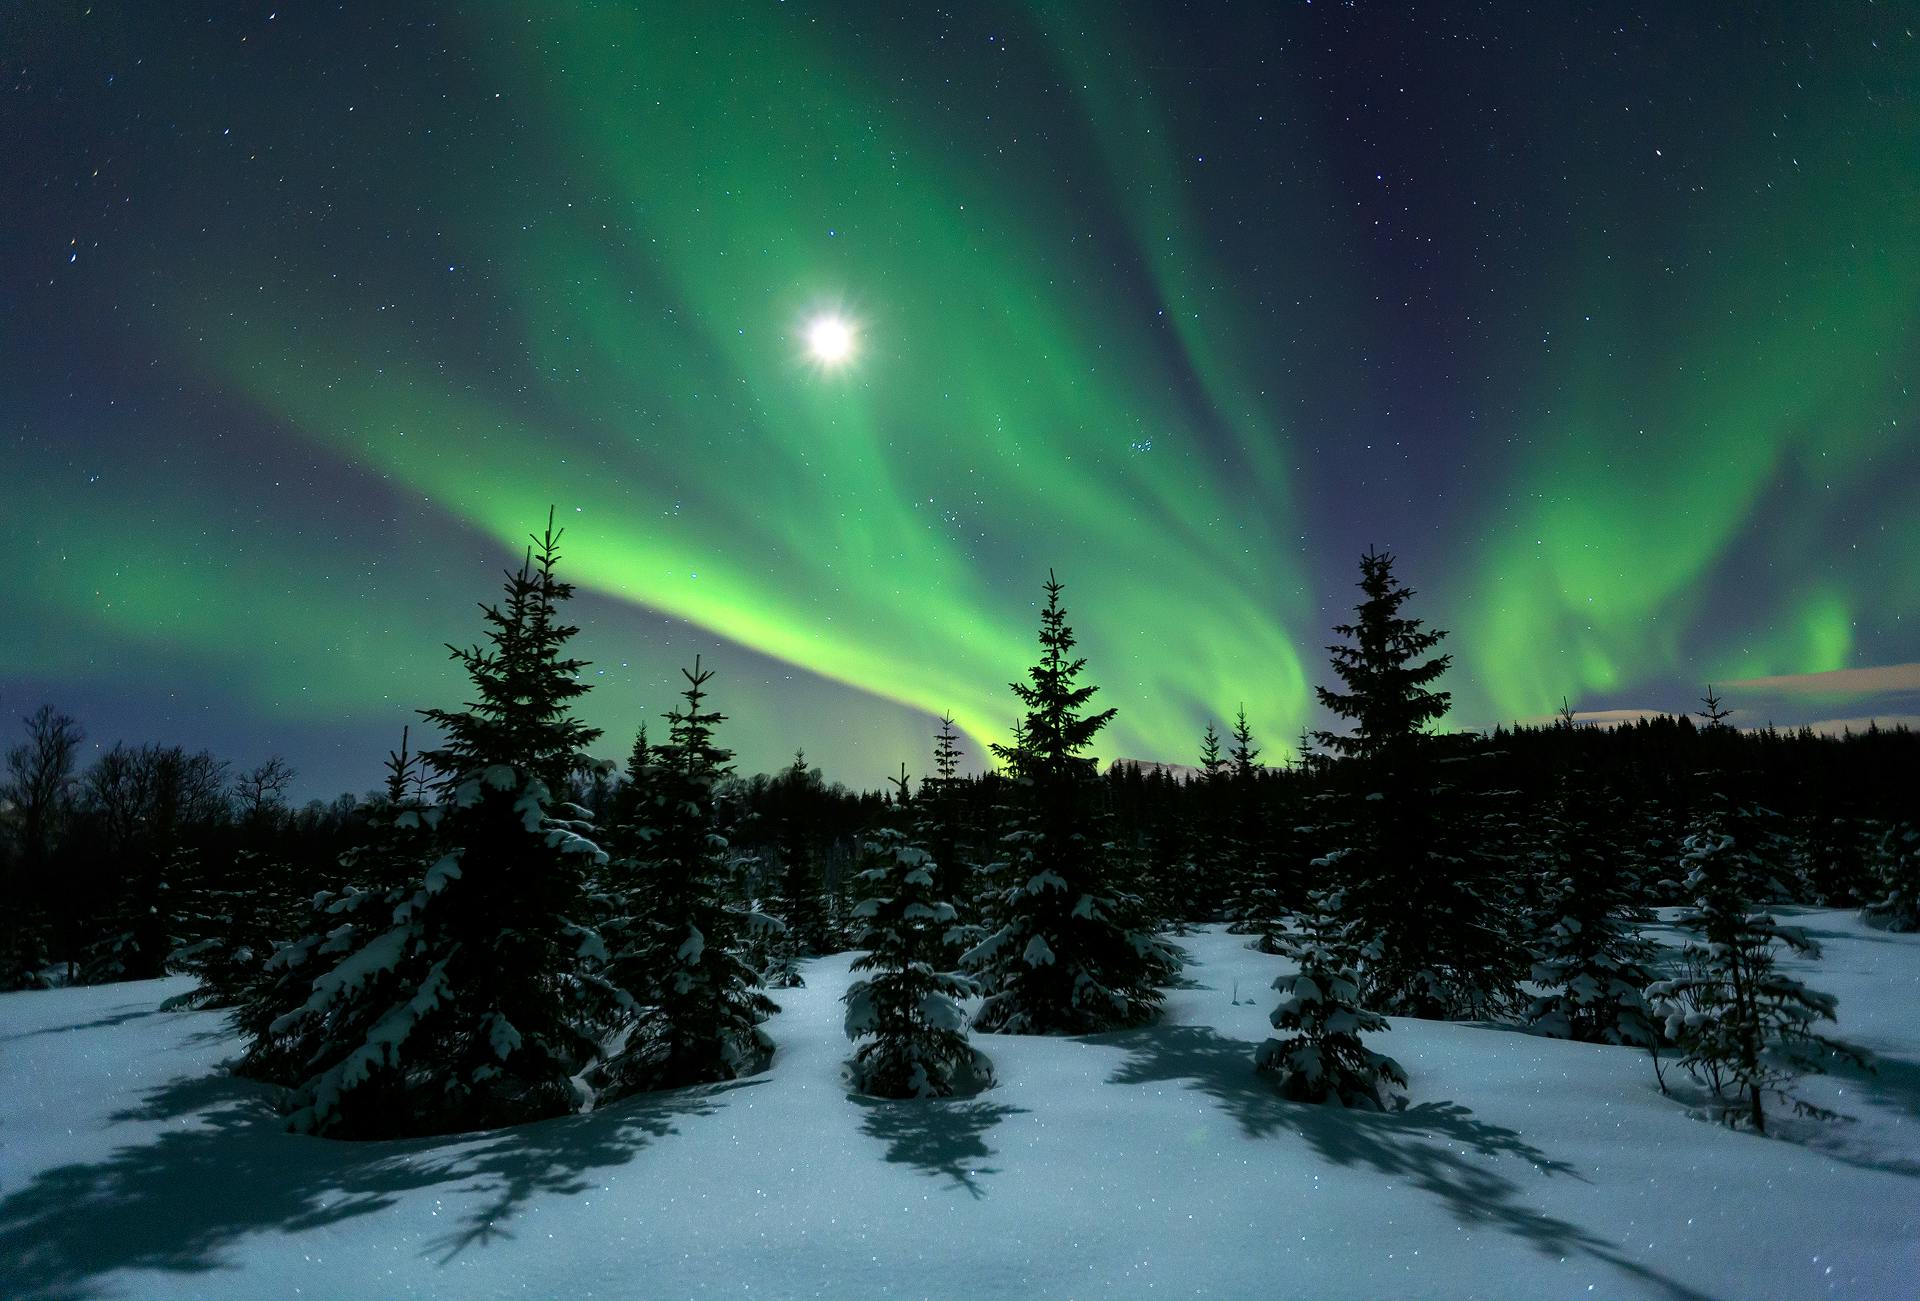
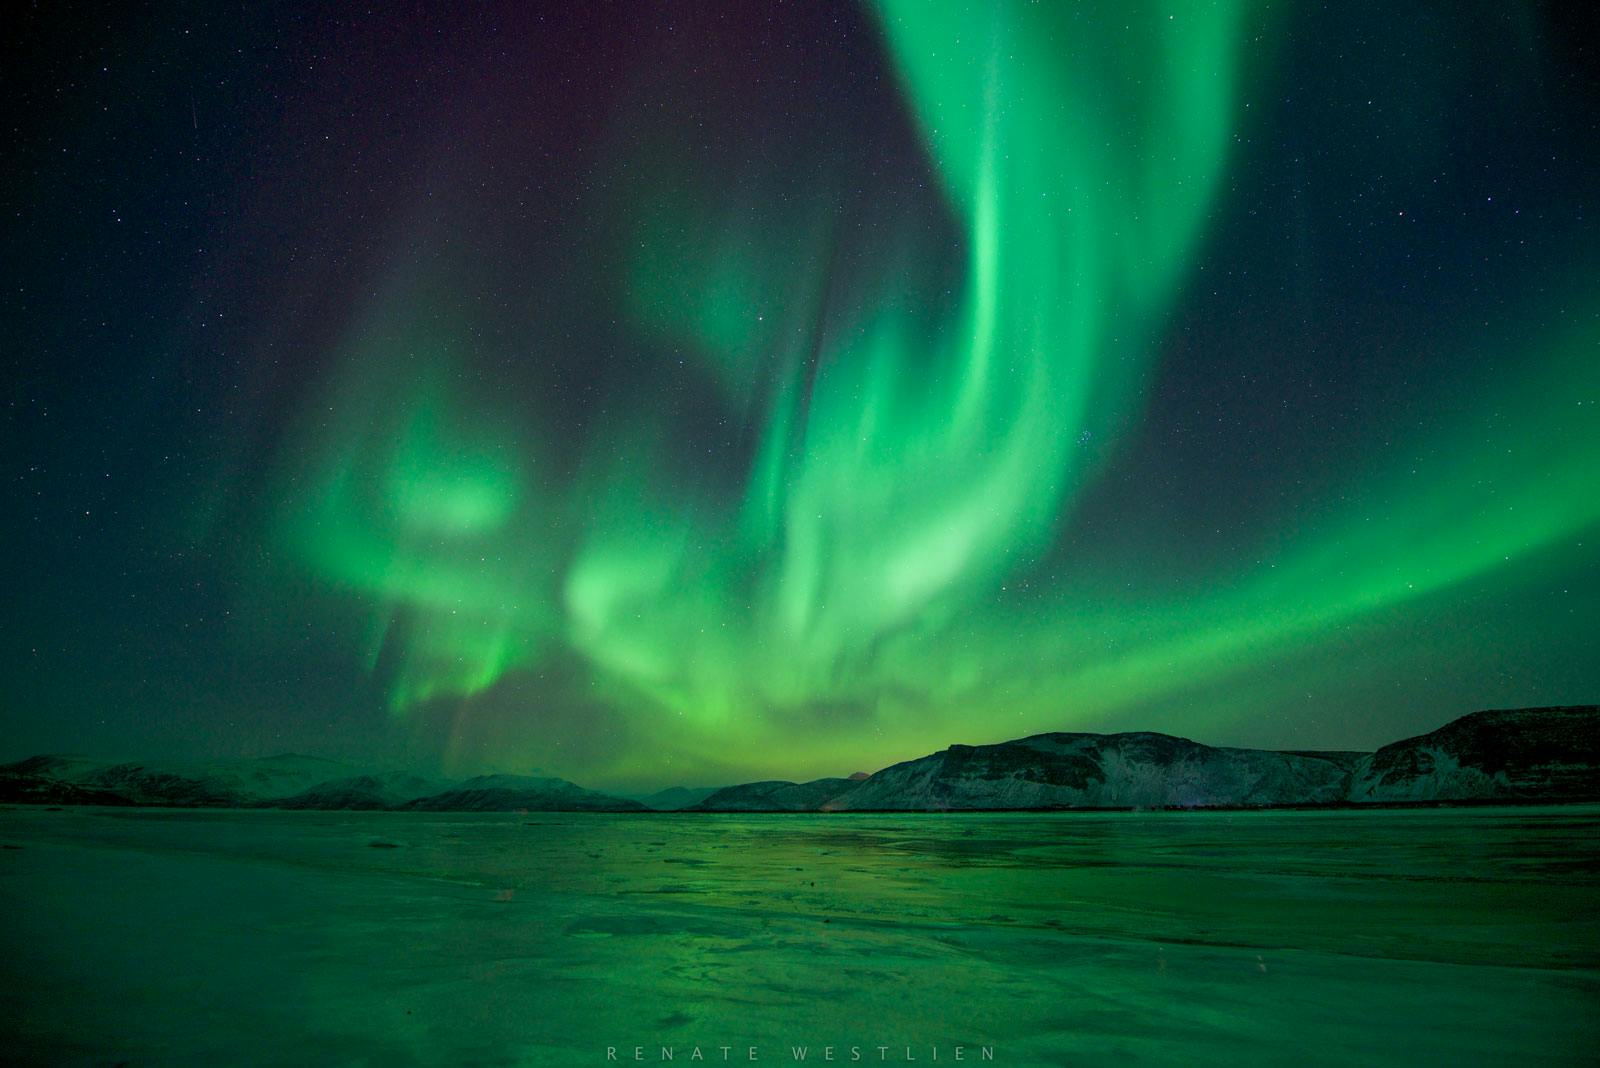
The combination of rugged and wild nature in northern Norway and the Aurora Borealis is a match made in heaven. Imagine the vast Arctic landscape and nature, snow-capped and jagged mountains, frozenRead moreGeirangerfjorden | The Iconic Norwegian Fjord
The Ultimate Fjord Experience The ultimate example of Norway's western fjords, with scenery many of us travel around the globe to see, is Geirangerfjorden. Read more: The Ultimate Countdown of NorRead more